A recessed downlight makes heat, and ceiling insulation keeps heat in. AS/NZS 3000 sets which downlights insulation may touch or cover, and how much space the rest need. This guide checks the downlights in one ceiling with the downlight clearance checker. The classes are explained in Downlights and insulation: IC-4, CA90 and Non-IC.
The job
A New Zealand home is having new insulation blown into its ceiling. The roof space has an access hatch. It has four kinds of downlight, each 10 W:
- new LED downlights marked IC-4,
- older ones marked CA90,
- a few marked Do-not-cover,
- two from 2005 marked IC-F.
Step 1. Read the marking
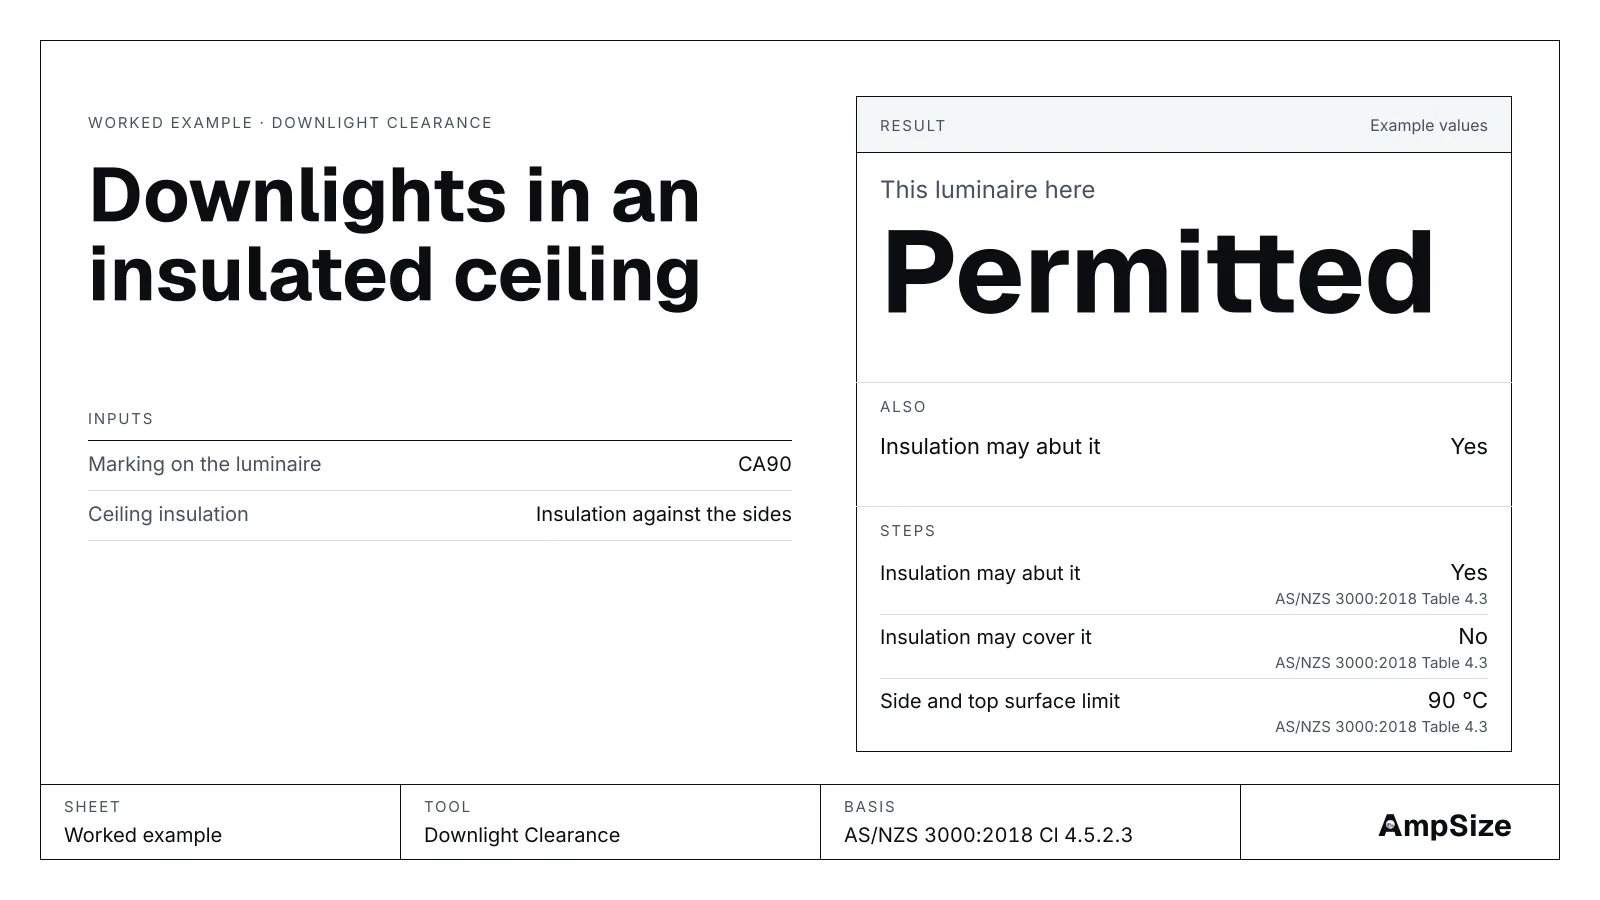
The class symbol is on the downlight or its box. It sets what insulation may do (Table 4.3). For a CA90 fitting with the insulation abutting, the tool reads Permitted.
| Marking | May abut | May cover | Allowed in a NZ home |
|---|---|---|---|
| IC-4 | Yes | Yes | Yes |
| CA90 | Yes | No | Yes |
| Do-not-cover | No | No | No |
| IC-F (2001) | Yes | Yes | Yes, read as IC-4 |
Step 2. IC-4: insulation may go over
An IC-4 downlight may be abutted and covered by insulation. Its side and top surface limit is 90 °C. Blow the insulation straight over it. Open an IC-4 under insulation.
The IC-F marking comes from the 2001 edition of the luminaire standard. The exception to Cl 4.5.2.3.5 lets it be installed as IC-4, so it may be covered too. Open the IC-F downlight.
Step 3. CA90: against the sides, not over the top
A CA90 downlight may have insulation against its sides but not over it. Covering it is not permitted. Open the CA90 under insulation.
Kept to the sides, it is permitted. The tool gives the default clearances, as it reads them from Figure 4.9 for a CA class lamp up to 100 W:
| Clearance | Value |
|---|---|
| Height clearance to the building above (HCB) | 100 mm |
| Side clearance to the control gear (SCG) | 50 mm |
The space above must stay clear of insulation. Where the maker states its own clearances, use them instead. Where loose insulation could drift onto the lamp, fit a barrier or guard to keep the clearance. Open the CA90 with insulation against the sides.
Step 4. Do-not-cover: replace it
Cl 4.5.2.3.5(b)(i) lists the classes a New Zealand home may have: CA90, CA135, IC and IC-4. Do-not-cover is not on the list, so the tool reports it not permitted even with the insulation kept clear. Open the Do-not-cover downlight. Replace these with IC-4 downlights before the insulation goes in.
A downlight with no marking at all is treated as Do-not-cover in New Zealand (Cl 4.5.2.3.3(a)(ii)), so it is replaced too.
The roof space sign
Where recessed downlights sit in an accessible roof space, a warning sign goes at the access (Cl 4.5.2.3.2). It is not needed when every recessed downlight in the space is IC or IC-4. With the CA90 downlights left in, this roof space needs the sign.
Over 100 W
The Figure 4.9 defaults are for a lamp up to 100 W. Above that, the tool gives no default figures: use a luminaire certified for the condition, or the maker's clearances (Cl 4.5.2.3.3(a)(viii)). Open a 150 W CA90.
In Australia
Cl 4.5.2.3.5(a)(i) sets a different list for a home: Do-not-cover, CA90, IC and IC-4. So:
- a Do-not-cover downlight is allowed in an Australian home, with its clearances kept clear, Open it in Australia;
- a CA135 downlight is not allowed in Australia at all. Open the CA135 in Australia.
The result
| Downlight | What to do |
|---|---|
| IC-4 and IC-F | Leave in, cover with insulation |
| CA90 | Leave in, insulation to the sides only, 100 mm clear above |
| Do-not-cover | Replace with IC-4 |
| Roof space | Fix the warning sign while CA90 downlights remain |
Cable runs buried in the new insulation carry less current. Check them with the correction factors tool.